
It’s blog #100!! And we are celebrating with cheese boards or better known amongst the hip millennial crowd as charcuterie boards! Now I love a great cheese and meat set-up at a party. I mean I will actually just stick around the table and make people come talk to me there in order for me to graze the array of cured meats and flavored cheeses.

Since these are just a great addition to a dinner party or just a party in general, I thought why not go ahead and create a step by step guide to help others create these amazing little boards. But first, you need to decide what kind of cheese and meat you want. And that’s the trickiest part, but don’t worry, you can keep it simple with salami and sharp cheddar if you want. It all depends on your party crowd and their tastes. For the boards below I used the following:
- Bourbon Gouda (the triangle wedged cheese)
- Blueberry Sharp White Cheddar
- Dill Harvarti (large board only)
- Salami
- Prosciutto
- Pancetta
- Grapes
- Olives (large board only)
- Strawberries
- Small Toasts (Garlic and Cheddar flavored)
- Rice Crackers (large board only)
- Tarragon

Once you know your ingredients, you’ll want to start creating your masterpiece by putting down your cheese. This is supposed to be fun, so cut it into different shapes (which may be dictated by the shape it comes in- the gouda was a wheel of cheese, hence the shape). Place them on the board leaving space for meats and fruits to go in between them.
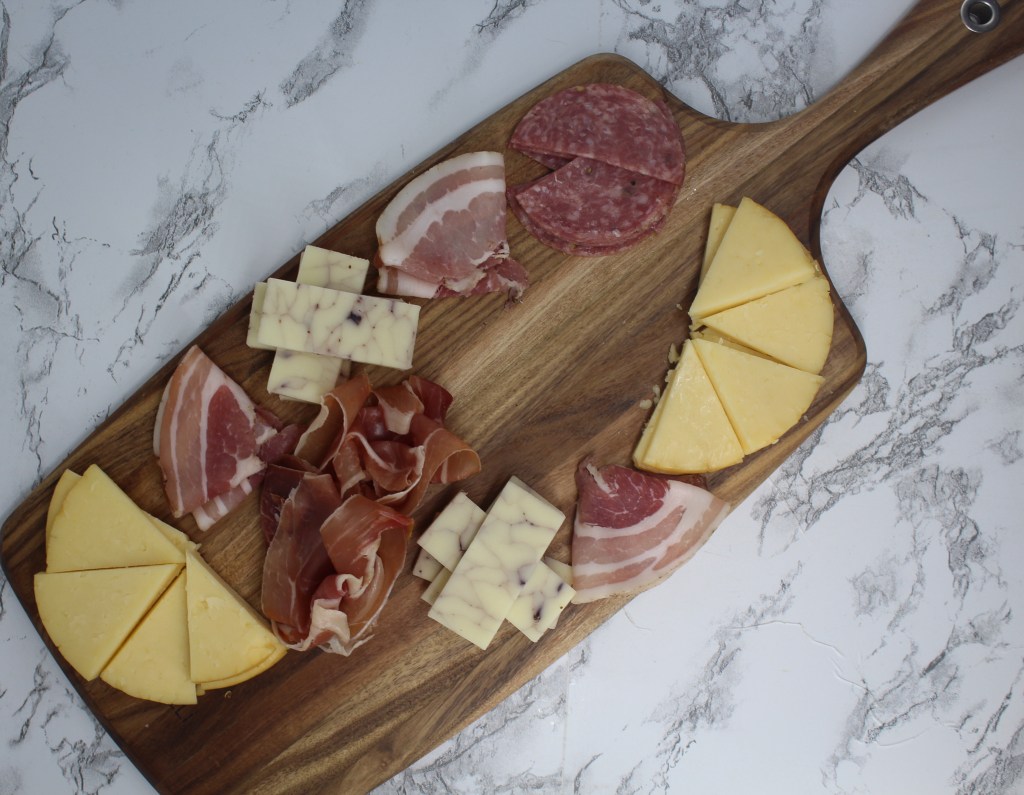
Next, add your meats. For salami, I find it sometimes easier to cut them in half and place them as seen above. The pancetta is circular, so I folded it in half twice and created these little fan shapes. The prosciutto is the easiest, dangle it over the spot you want it and let it fold naturally on itself.
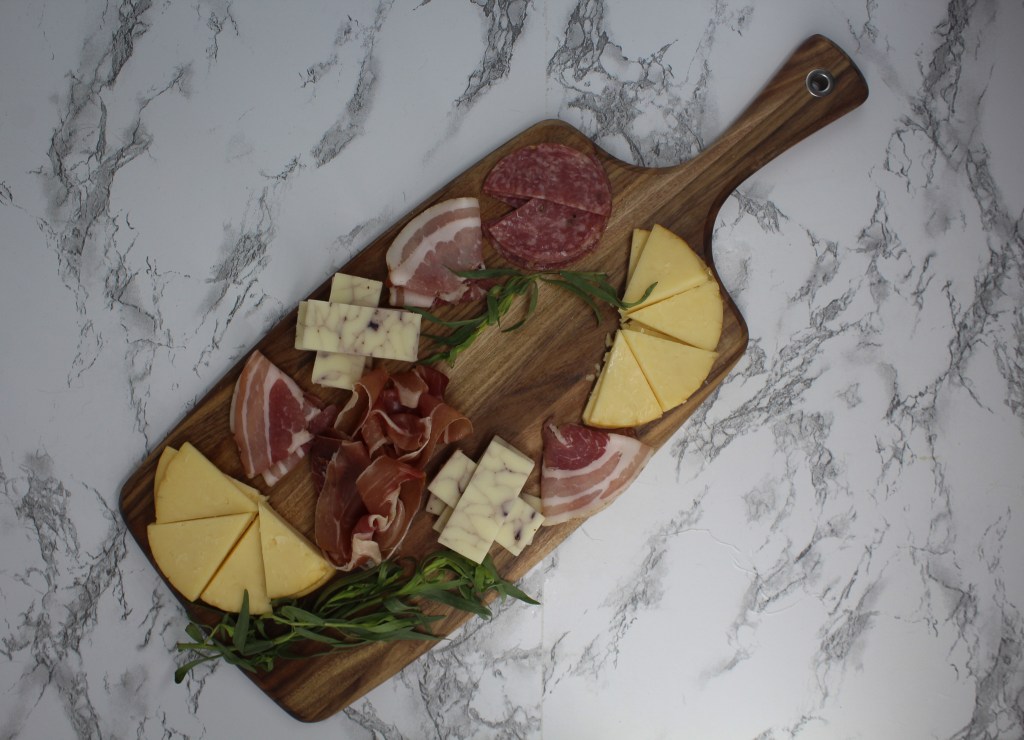
Then add your greens. These are really just here as a garnish, something to break up the pinks and browns. Add the rosemary or tarragon to the edges or larger gaps.
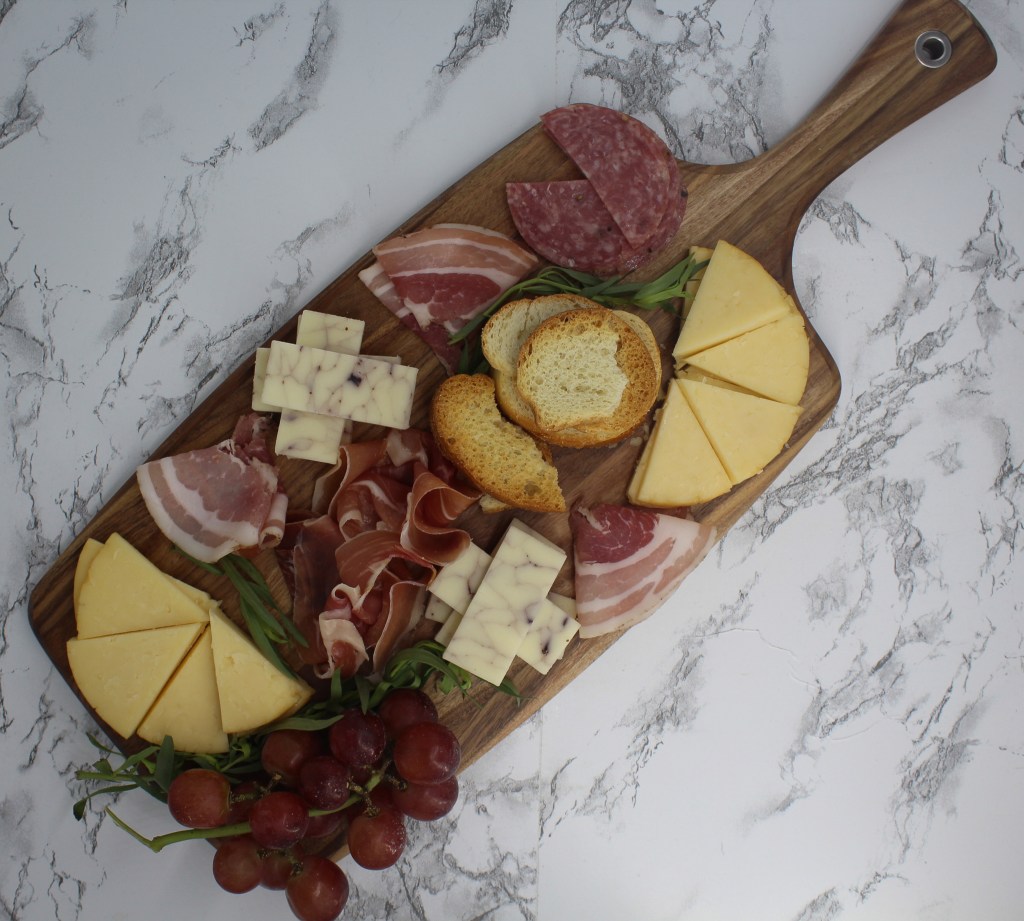
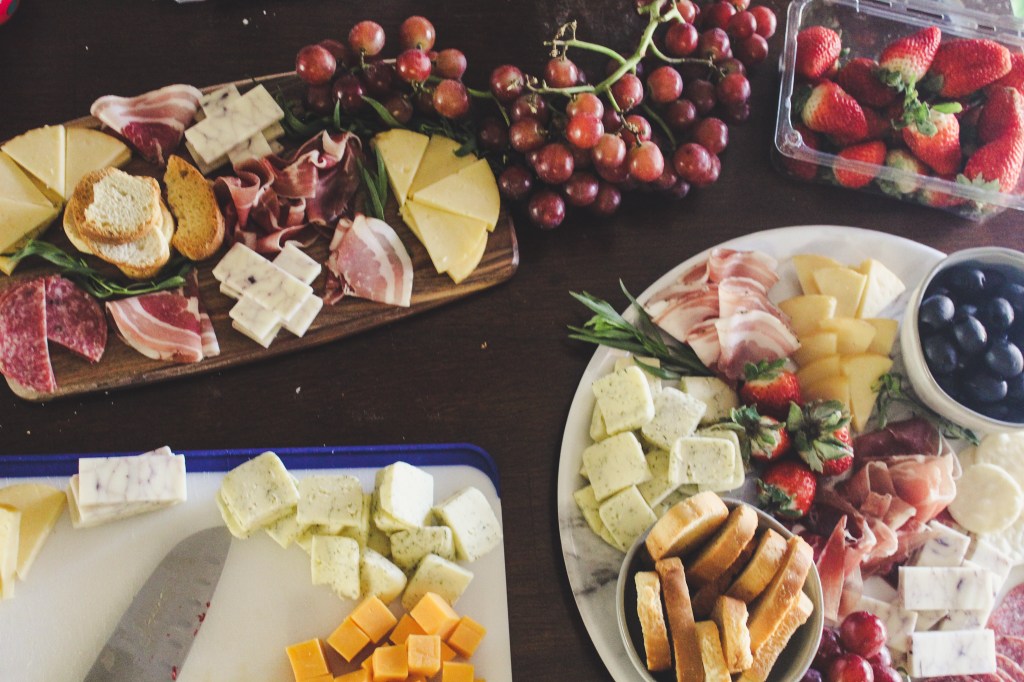
Last up, add your fruits and crackers which should fill up the rest of the empty space and then you’re done! Look how easy that was! You’ll def be the best party host with one of these. And if you have a little more time you can create an even bigger display like below!
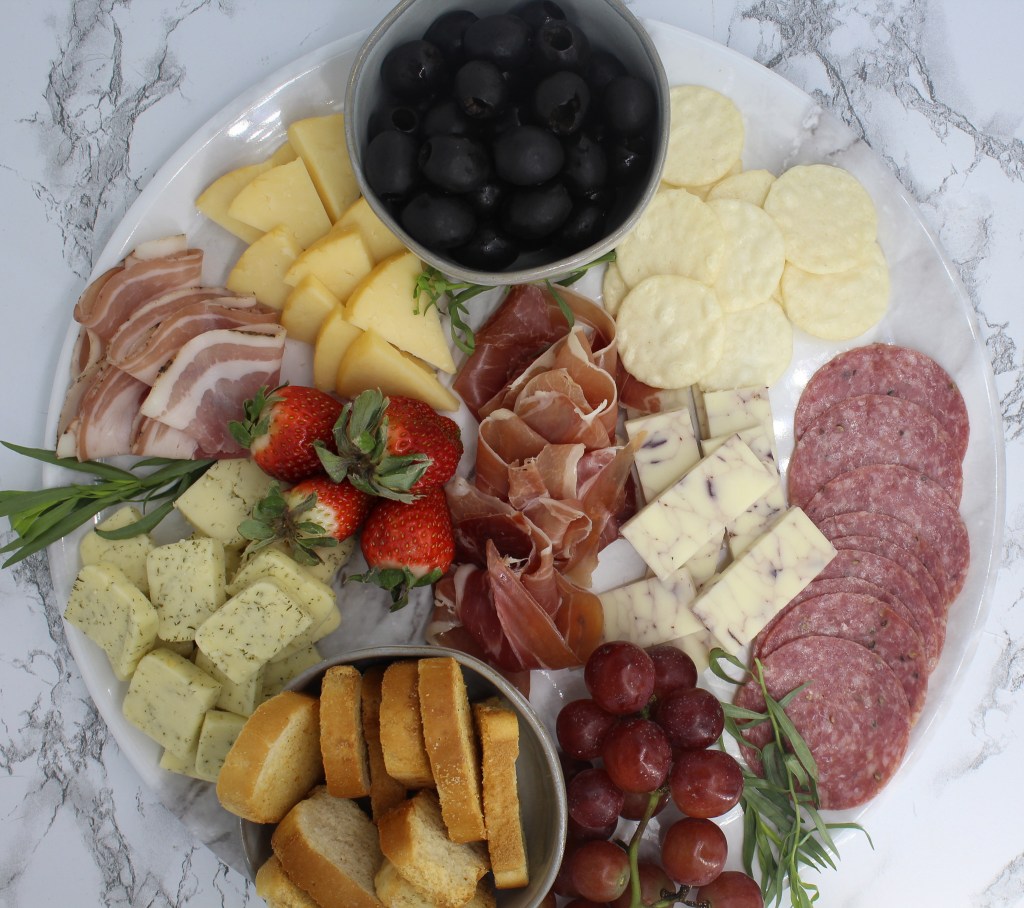
The only extra step in creating this beauty is to first place your empty bowls on the board or platter and then follow the same steps from above. And at the end of the party you can bag up all the extra items and munch on them for the next few days! It’s the best treat!
